
Dip-dyed knitted fingerless mitten tutorial using onion skin dye
If you're a fan of fast, stash-friendly, and customizable knitting projects, you may have come across my Ginnel fingerless mittens already – a true favourite among crafters! These chunky mittens are not only stylish, but the perfect canvas for expressing a little of your own personality. Best of all, the pattern is absolutely free! If you haven't tried making your own pair of Ginnel’s yet, you can grab your copy below.
For those who love adding a personal touch to their projects, one of my favourite ways to customize these mittens is through a little creative natural dyeing. In this tutorial, I'll guide you through the process of dip dyeing your Ginnel mittens using onion skin dye – a fantastic beginner-friendly project.

Say hello to Ginnel!
Chunky, cosy and super speedy to knit up, they’re designed to be a blank canvas for you to get creative.
They’re perfect for beginner knitters who want to master knitting in the round.
Things to keep in mind when hand-dyeing…
Before we dive in, here are some things to keep in mind:
Always use separate equipment to dye with, never use what you use when preparing food
Wear gloves when handling the dye and a mask at all times*
Be careful not to overheat or agitate your mittens if you have used wool or you will end up with felt. Wool hates sudden changes in temperature.
*Just because we are using natural dyes doesn't mean you shouldn't protect yourself. While onion skins are unlikely to affect you, you never know what you may be allergic to, and the same goes for the mordants we're using.
**Hand-dyeing with natural dyes works best on natural fibres such as wool, cotton and silk. Different fibres will take the dye differently, so if you are using something other than 100% wool which I am using, you may get different results. But that’s all part of the fun! If you are working with a synthetic yarn, you can still have some dip-dyeing fun, you will just have to use an alternative dye to onion skins. Check out this fun tutorial on the Rit Dye website!
What are mordants?
For this project, I am going to use a mordant on my mittens before dyeing them. Mordants are crucial for ensuring the colour adheres well to the mittens and helps prevent fading. As onion skin dye is known to fade over time, I used alum and cream of tartar as mordants for this project. Both are readily available at the supermarket or online, and they are non-toxic, but you should still use them with caution if this is your first time in case of an allergy you are unaware of.

Let’s dip-dye our mittens!
Equipment list…
Finished Ginnel mittens
Onion skins (red or white, I used white)
Rubber gloves
Face mask
Dish soap
Alum powder
Cream of tartar
Digital scales
Large pan (only to be used for dyeing)
Something to secure the mittens while they dip-dye (I used clothes pegs)
Something to secure the mittens to (I used a straight needle)
Step 1: Scouring
This means cleaning your mittens to remove any dirt or oils that might hinder dye absorption. Soak your mittens in warm water with a little dish soap, giving them a gentle squeeze and letting them get completely saturated to ensure even dyeing. Rinse them in clean water and gently squeeze out the excess.
Step 2: Add your mordant
Dissolve 4g alum powder and 3g cream of tartar in hot water, then add it to a pan of cold tap water. Submerge the mittens and gently heat them over an hour, keeping the temperature just below simmering. Let them cool completely before rinsing.
Step 3: Making the Dye
Onion skins are a fantastic choice for dyeing, and they're easy to obtain. You can save them up as you cook or ask your local grocers (that’s what I did!)! I filled my dye pan with onion skins because I wanted to achieve a really deep colour that hopefully would fade to a light yellow. I filled the pan halfway with cold tap water and put it on medium heat.
Over an hour I gently brought it to a simmer. The hotter the water got the more colour started to appear, first a pale orange to a deeper liquid. After an hour I tested the dye bath with a piece of kitchen towel and saw that it was a pale orange. I decided to play around with the ph to see what would happen if I made it more alkaline, so I added some baking soda dissolved in hot water. The dye deepened and shifted to a lovely golden yellow! I simmered it for a further 30 mins and then left it to cool overnight to let the colour develop further.

Step 4: Dyeing the mittens
Now for the fun bit! As I mentioned before, wool hates too much heat and drastic changes in temperature, so I always start dyeing with cold wet wool and a cold dye bath. That way everything is heating together.
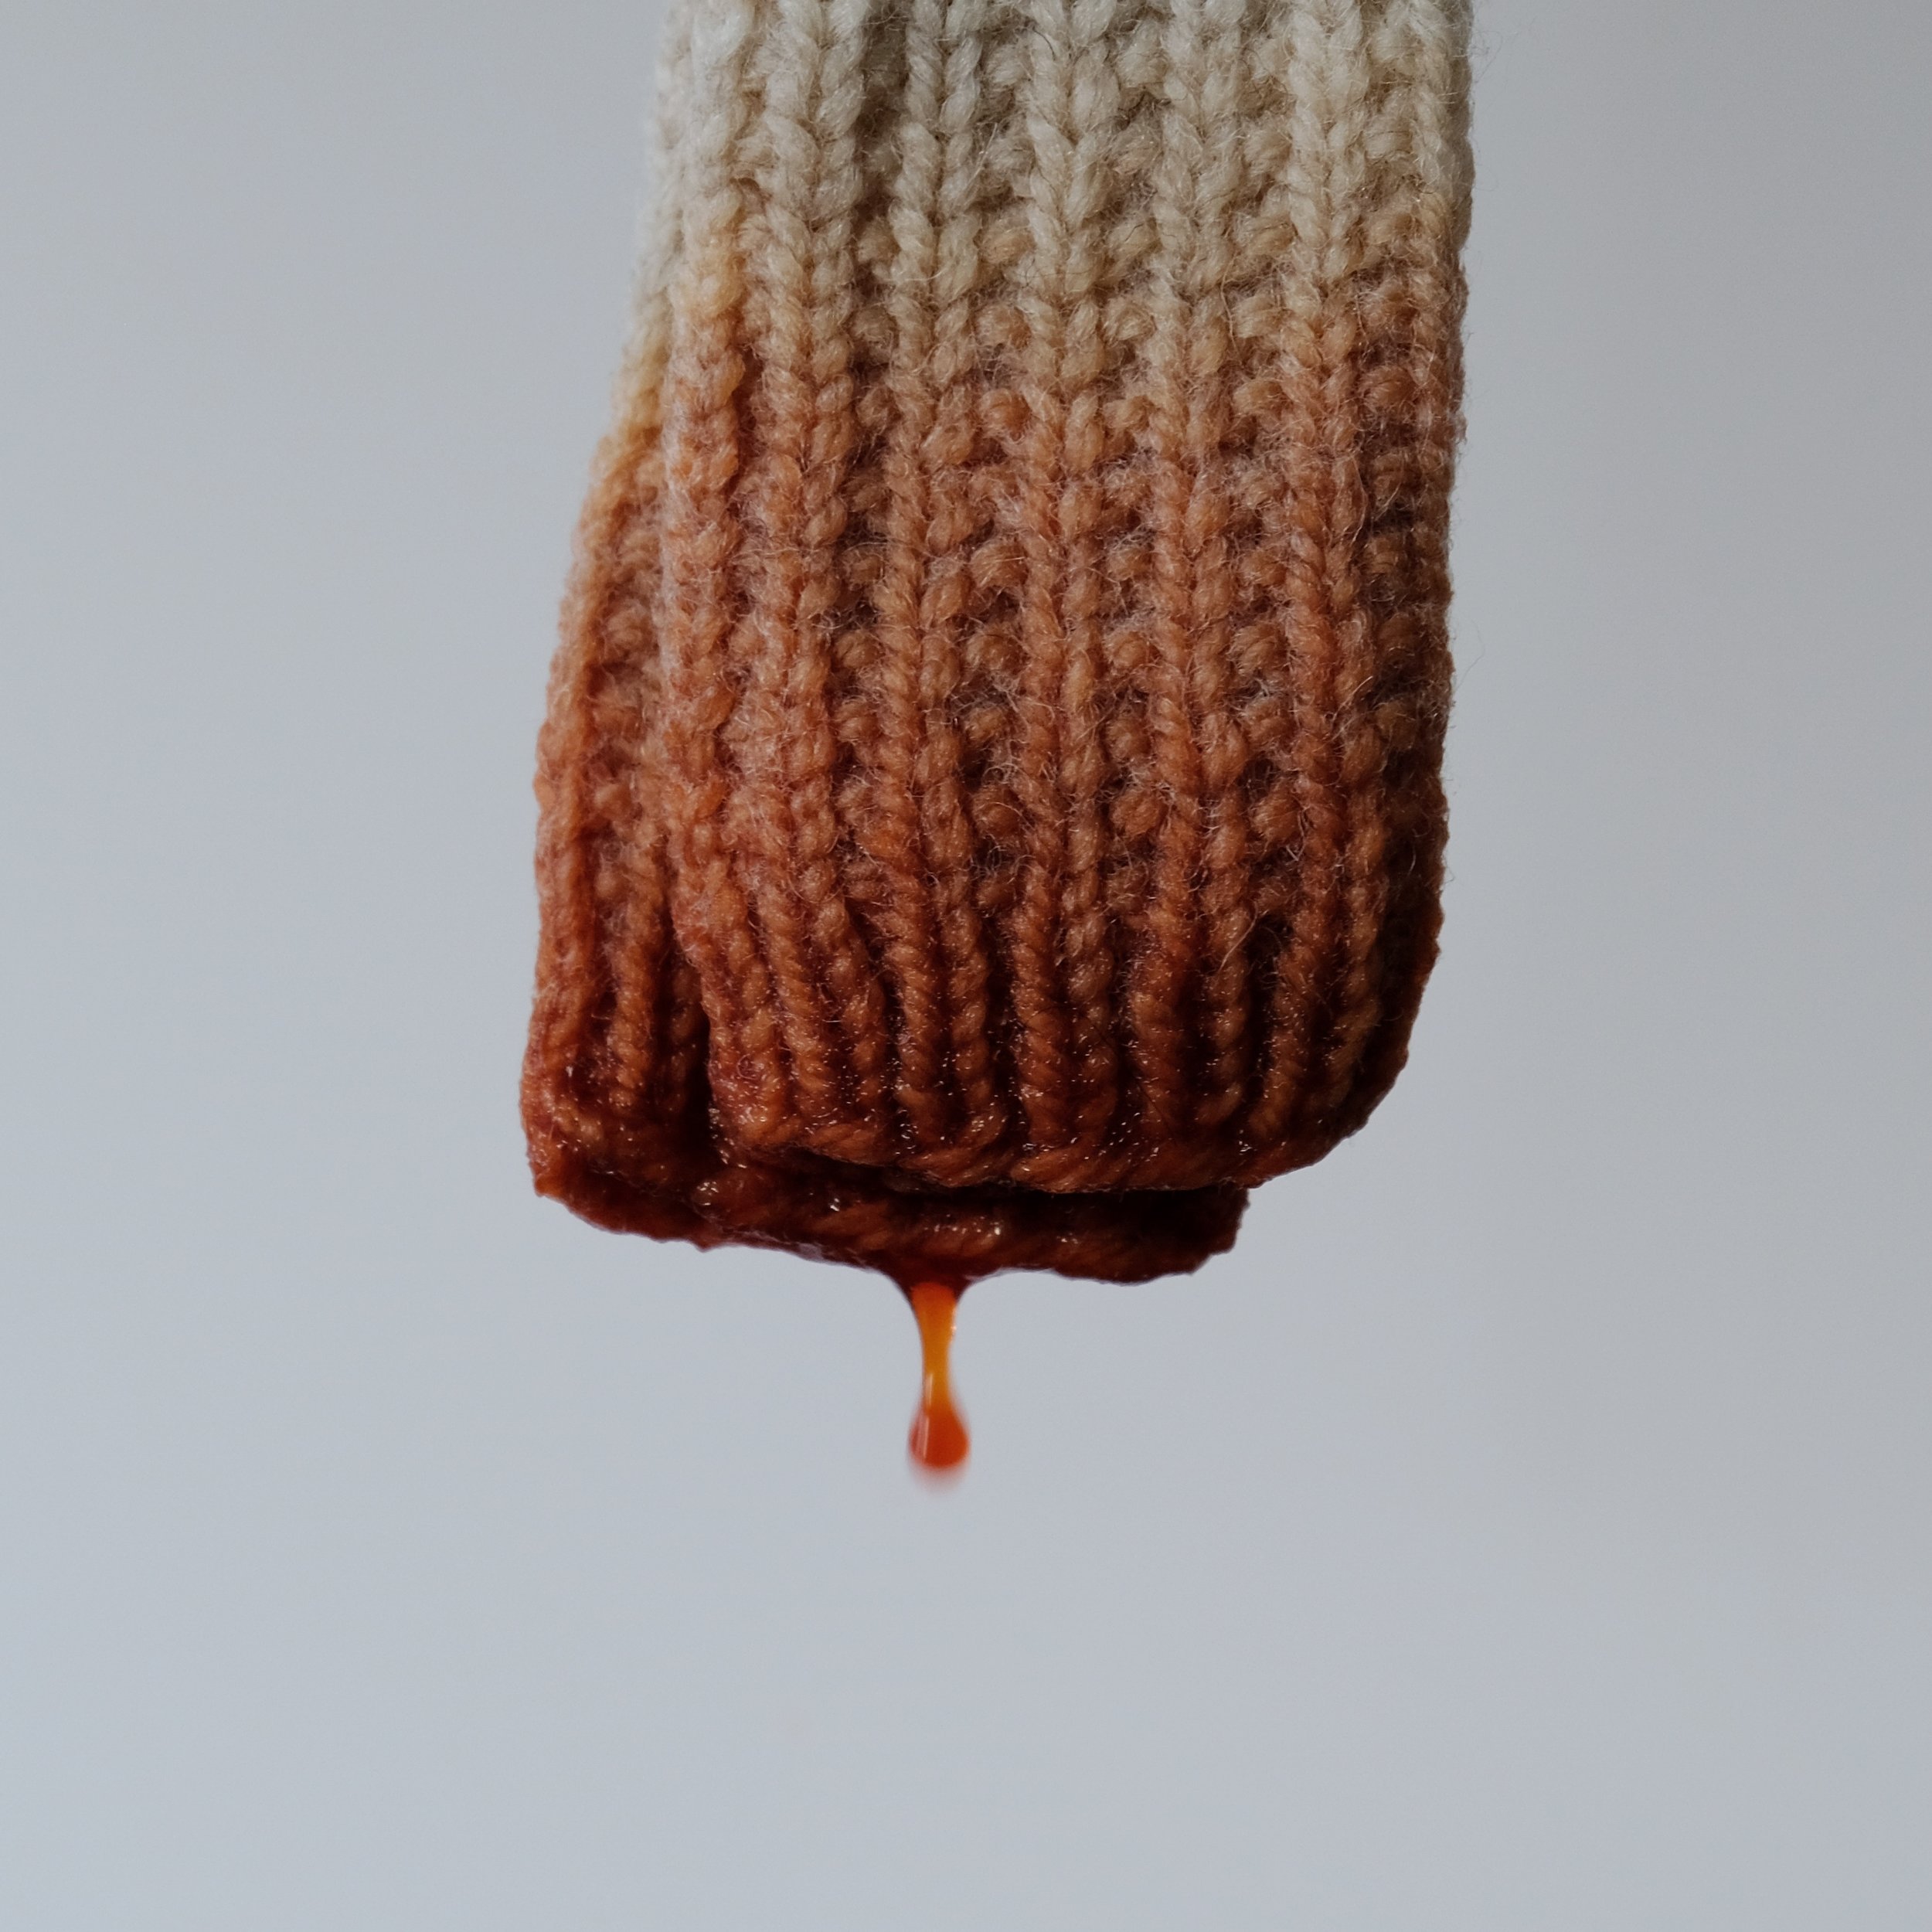
I wanted to create a dip-dyed effect, so I started by dipping the ends of my mittens into the dye to just below where I wanted the dye to end. Remember the mittens are wet and will wick the dye up further. I did this a few times before securing the mittens to a straight knitting needle with clothes pegs and supporting them over the dye bath with some kitchen bowl (super fancy equipment!).
I submerged the first half of the section dipped into the dye bath and started to gently heat everything. Over the next hour, I brought the temperature to just below simmering, every now and again dipping it in and out a little to make sure it didn’t create a stripe. I kept it at that temperature for another hour, always being careful not to let it get too hot and start boiling. I turned off the heat and let everything cool completely before taking the mittens out and rinsing them in cool water until it ran clear and laid them flat to dry.

Voila! Dip-dyed handmade mittens! Enjoy the process of creating your uniquely coloured Ginnel mittens – a stylish and personalized accessory for yourself or a thoughtful handmade gift!
Have you tried dyeing with onion skins before? Let me know in the comments below!


